7 smart tips for baking better cookies
So grab your mixing bowl: It’s time to get started.
Pay attention to temperatures. Many cookie recipes call for room temperature eggs and butter. Don’t ignore this step, as it’s key to ensuring your cookie dough is properly combined and will incorporate the right amount of air so that they don’t bake up flat. If you didn’t think ahead to let ingredients rest on the counter, no sweat. You can soften the butter in the microwave in short bursts. Start with 10 seconds on one side, rotate 90 degrees to the next side and try another 7 to 10 seconds, rotating with each burst. It won’t take long, and you just want the butter soft enough to leave an impression with your fingertip. It shouldn’t show signs of melting. For eggs, simply place them in a bowl of warm tap water and let them hang out for five minutes.
Mix well. The key to uniform and tender cookies is attentive mixing of the dough. Scrape down the sides of the bowl and your mixer attachment (paddle on a stand mixer, beaters on a handheld model) often, especially in between the addition of different ingredients. Butter in particular can cling to the sides of the bowl, so take a second to help it get incorporated. If the recipe says to cream the butter and sugar for a certain amount of time or until very light and fluffy, not doing so will affect the texture and appearance of the baked cookie.
Don’t just rely on the timing, as mixer strengths can vary — the visual cues provided in a recipe are just as important, if not more so. Once the dry ingredients are added, go low and slow. This keeps the flour from flying and also prevents the cookies from getting tough. Mix just until the flour disappears. You can even stop a little before that point and finish stirring by hand to avoid overdoing it. And don’t be turned off if a recipe calls for a stand mixer. Most cookie recipes can be made with hand mixers. It may take slightly longer to mix, because they’re not as powerful, which is also why you might want to finish by hand, especially for heavy, thick doughs.
Lining the pan. Beware silicone when lining baking sheets. While we love our silicone baking mats for other projects, they can be problematic with cookies, especially butter-based doughs, by causing them to spread too much. Parchment is a safer bet for properly shaped cookies, and it can be reused multiple times. Save the silicone mats for drier doughs (like macarons, for example) or other times you want nonstick perfection, such as chocolate-dipped treats that need to set.
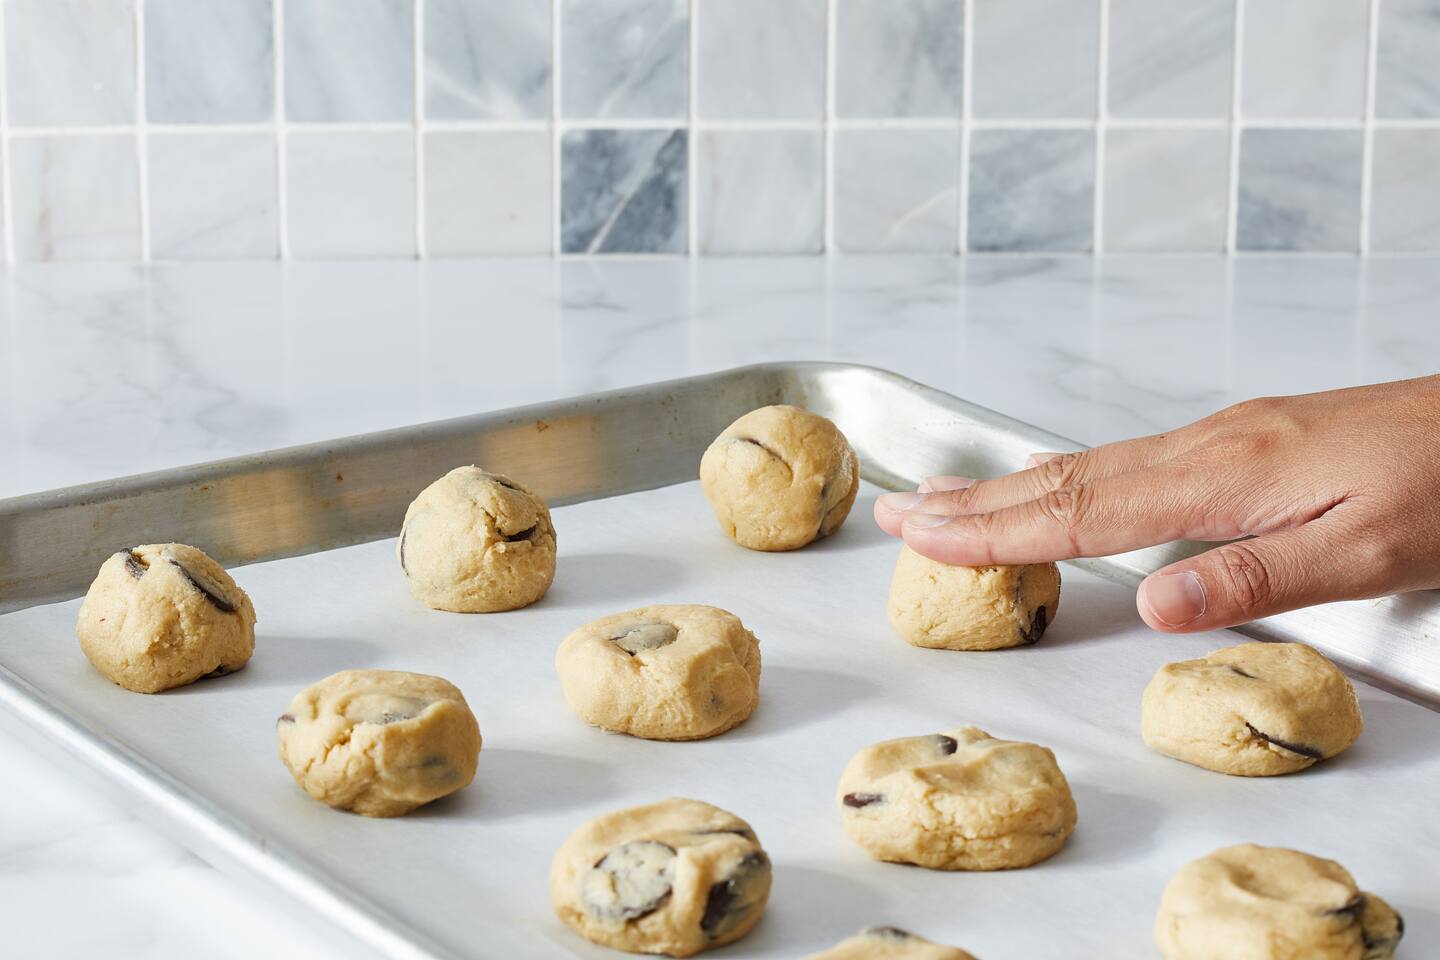
Portioning the dough. Dishers, or spring-loaded ice cream scoops, make fast, even work of portioning dough. That helps ensure equal-size cookies that bake at the same rate. Even if you don’t have a disher, you can maintain a uniform size by weighing all the dough and dividing by the number of cookies (a good recipe will provide you with the per-cookie weight). Portion out one that weighs that amount. You don’t need to weigh each subsequent cookie, just use the first as a model for how big the rest should look.
Freeze the dough. If you’re working ahead or don’t want to be stuck with an entire batch of cookies, pop the dough in the freezer. For drop cookies that you’ve formed with a disher, as described above, allow them to freeze individually on a lined baking sheet before transferring to an airtight bag or container. Bake straight out of the freezer. In most cases, the cookies will require very little extra baking time, or even none at all. You can also freeze dough you have rolled for cutout cookies. Let the dough sit on the counter for just a few minutes to soften ever so slightly, then cut and bake. These will hold their shape very well, so consider this strategy for more delicate or elaborate cookie-cutter shapes.
Baking properly. Especially for drop cookies, whoopie pies and shortbread, don’t overbake. The cookies may not look fully baked, but they’ll often continue baking in the pan’s residual heat. If you need to reuse baking sheets for multiple batches, let them cool completely, or speed up the process by running them under cold water and then drying thoroughly.
Decorate at the right time. Whether you are applying icing, a drizzle or sprinkles, be sure to let cookies cool completely before decorating. Otherwise, the decorations will melt or run off. Let icing and drizzles dry and set completely before serving or storing.