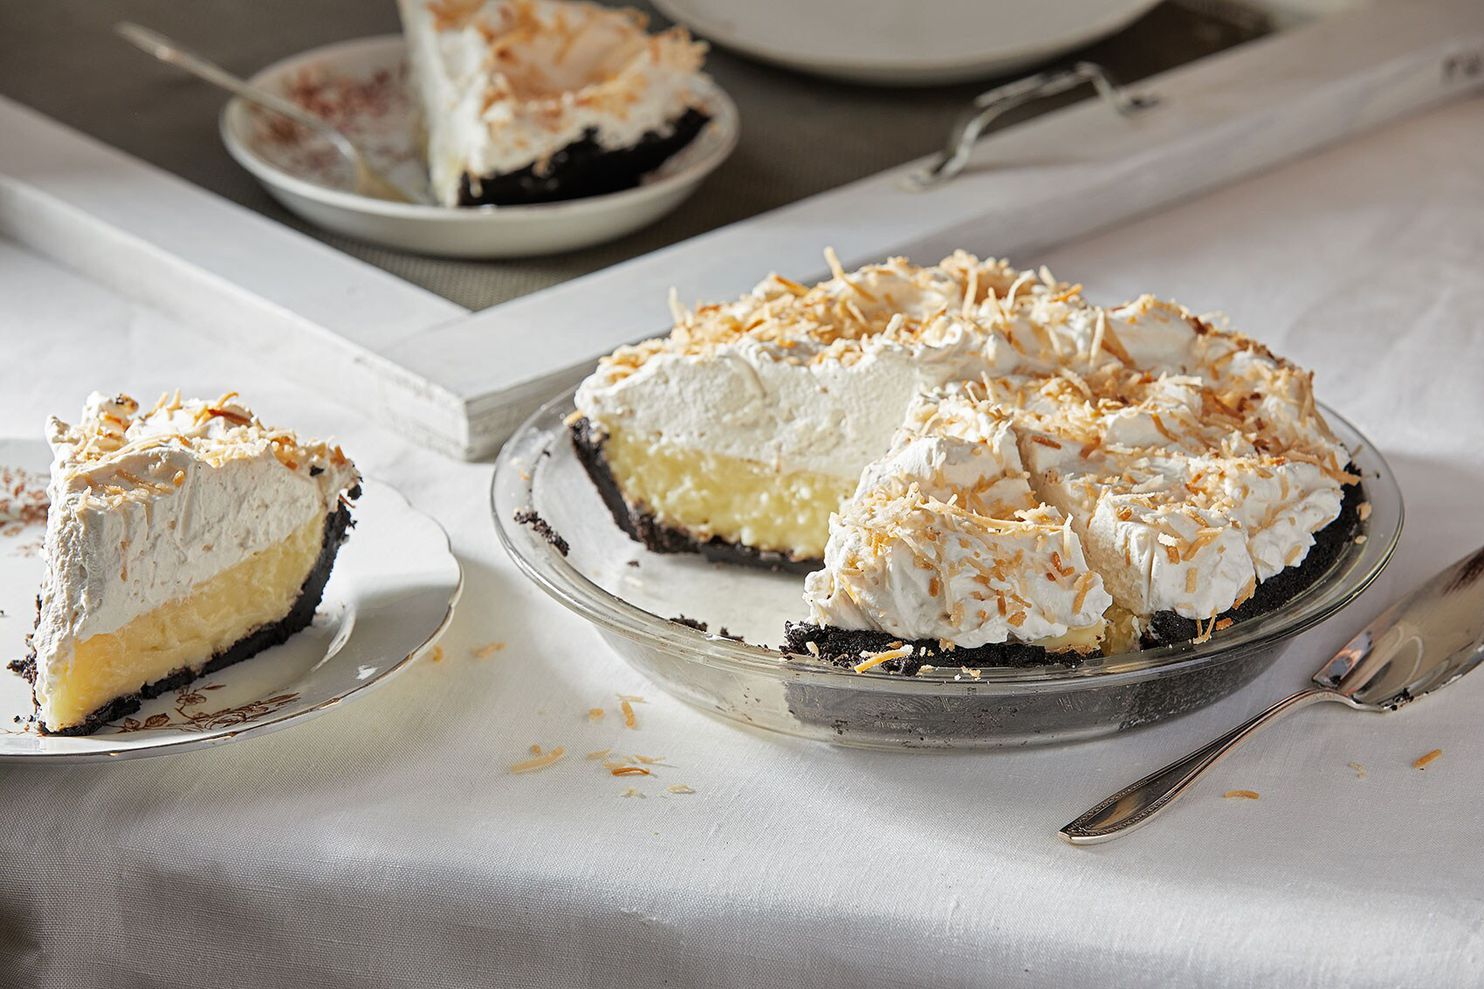
This no-bake coconut cream pie plays it cool with a chocolate cookie crust
Overview
Summer is the season for pie-making. And though I love a slice of fruit pie (à la mode, please) during these dog days, a slice of a no-bake cream pie is what I’m here for.
Be it lemon, chocolate, peanut butter, raspberry, banana or coconut; cheesecake-like or pudding-filled, a no-bake cream pie requires no heavy lifting (homemade pie dough, I’m looking at you). It calls only for pantry staple ingredients, is infinitely adaptable, depending on what you have on-hand and/or whatever you crave, can be assembled in minutes and — wait for it — does not require that you turn on your oven.
[How to make an icebox cake, the coolest (literally!) no-bake dessert]
Moreover, a no-bake pie needs time to set up in the refrigerator (or freezer), making it the ultimate make-ahead warm-weather dessert (my favorite).
A no-bake cream pie, with a crumb crust that sets in your freezer, features a filling you assemble in your food processor, with a hand mixer or in a saucepan on the stove top.
The crust is a combination of melted butter, cookie crumbs and a few tablespoons of sugar. Once put together, the sandy mixture is evenly pressed into your pie plate and kept in the freezer while you assemble the filling, which can range from softened cream cheese and whipped cream (or Cool Whip!), a no-bake cheesecake filling, a comforting pudding or softened ice cream.
To top it all off, literally and figuratively, a generous crown of freshly whipped cream, flavored and sweetened, or not, is nonnegotiable. Below are tips, tricks, flavor combinations and instructions for creating your own dreamy version.
The crumb crust: Although a traditional “crumb crust” is made with chocolate or vanilla wafer cookies or graham crackers, you can make a no-bake pie crust from (almost) any cookie, including Oreos, ginger snaps and shortbread; or cracker, including saltines and Ritz. Cereal, such as cornflakes, will work, too; as will snack foods, such as pretzels.
A general rule is that a 9-inch pie, calls for about 7 ounces or 1 1/2 cups of crumbs (ground in a food processor or finely crushed in a zippered plastic bag with a rolling pin), 4 to 8 tablespoons of melted butter (Oreos need closer to 4 and pretzels and cornflakes, closer to 8) and sugar to taste, 2 to 4 tablespoons. You’ll know you have the right ratio when you can squeeze a bit of the mixture between your fingers and it holds its shape. I avoid my oven at all costs when no-bake pie-making, so I set the formed crust in the freezer. But for extra insurance, you can bake your crust at 350 degrees for 8 to 10 minutes until fragrant and set. Bring it to room temperature before adding the filling.
The cream filling: Once set, typically after 4 to 6 hours in the refrigerator, the ideal no-bake pie filling is airy, light and creamy, but with enough structure to cleanly hold its shape when sliced. A mixture of 8 ounces of softened cream cheese and 1 1/2 cups of heavy cream achieves this balance, making for an ultra-creamy slice o’ pie. I like to combine the two in my food processor until smooth, before adding any mix-ins, such as peanut butter, melted chocolate, Nutella, diced peaches or swirls of jam. The cream cheese in this filling provides structure without imparting much tang.
A no-bake cheesecake filling, on the other hand, is all about that tang: Just combine 16 ounces of cream cheese, a can of sweetened condensed milk and 1/4 to 1/3 cup of fresh lemon juice with a mixer. Serve it up in a graham cracker crumb crust and, if you know what’s good for you, decorate with sliced strawberries.
The creamiest of the creamy fillings is a stove-top pudding. A tad more labor-intensive than the cream cheese-based ones and requiring heat from the range, this filling is 100 percent worth the effort. Consider a chocolate pudding pie with a pretzel crust, or a vanilla one with a cornflake crust, or butterscotch or caramel pudding combined with a chocolate wafer cookie one. Use any pudding recipe you love, or one from a box, no judgment here.
And finally, an ice cream filling: Soften about a pint of your favorite flavor and spread it in the crust of your choosing. Let it set up in the freezer until firm, about 2 hours. Strawberry ice cream in a shortbread crust, Oreo ice cream in an Oreo crust or lemon ice cream in a gingersnap crust would all make a fab no-bake (ice) cream pie.
The whipped cream topping: To generously top your no-bake pie with billowy whipped cream, you will need about 2 cups of heavy cream and confectioners’ sugar to taste (1 to 3 tablespoons). If using a stand or hand mixer, whisking on medium to medium-high for a few minutes should do the trick. Your goal is soft-to-medium peaks, so the cream has enough structure to keep its shape once spread atop your pie, but not so much that it loses its airiness.
If you are thinking about flavoring your whipped cream, consider how you might do so to complement the flavors of your filling and crust. For instance, a minty-green filling, studded with chopped chocolate and encased in a chocolate cookie crust, would be lovely with a chocolate-mint whipped cream (add 1/4 cup cocoa powder, plus peppermint extract and confectioners’ sugar to taste). A chocolate pudding filling in a peanut butter cookie crumb crust screams out for a peanut butter whipped cream (add 1/3 cup peanut butter, vanilla and confectioners’ sugar to taste). And I’m not sure what sounds tastier than a lemon filling in a Ritz Cracker crust topped with a strawberry-whipped cream (add about 1/4 cup macerated and pureed strawberries). Spread your whipped topping once the pie is set.
Exercising a little creativity when flavoring these three components of your no-bake pie can be fun, but if that’s not your thing, no worries. Truly, even the simplest of combinations — we’re talking a chocolate cookie crust with a chocolate pudding filling topped with vanilla whipped cream — is the easy, make-ahead, hot weather-friendly summer dessert you didn’t even know you were missing.
Scale and get a printer-friendly version of the recipe here.
No-Bake Coconut Cream Pie
Storage: Leftover pie can be loosely covered and refrigerated for up to 3 days.
Make ahead: The pie can be made and refrigerated up to 24 hours before topping with whipped cream and serving.
Ingredients
FOR THE CRUST
1 1/2 cups (200 grams) very fine chocolate cookie crumbs (from about 29 cookies, such as Nabisco Famous Chocolate Wafers, finely ground in a food processor, or crushed in a zip-top plastic bag with a rolling pin (see NOTE)
2 tablespoons light brown sugar
6 tablespoons (85 grams) unsalted butter, melted and warm
1/2 teaspoon vanilla extract
FOR THE PUDDING
3/4 cup (150 grams) granulated sugar
5 tablespoons (50 grams) cornstarch
A rounded 1/4 teaspoon fine sea salt
1 1/2 cups (360 milliliters) whole milk
6 tablespoons (90 milliliters) heavy cream
1 1/2 cups (360 milliliters) unsweetened coconut milk
1 large egg, lightly beaten
1 large egg yolk, lightly beaten
3/4 cup (70 grams) shredded sweetened coconut
2 tablespoons (30 grams) unsalted butter, at room temperature
1/2 teaspoon coconut extract
1/4 teaspoon vanilla extract
FOR THE WHIPPED CREAM
1 1/2 cups (360 milliliters) heavy cream
3 tablespoons confectioners’ sugar
1/2 teaspoon coconut extract
Steps
Step 1
Make the crust: Combine the chocolate cookie crumbs, sugar, butter and vanilla in a large bowl and mix with a flexible spatula (or your hands) until the butter and sugar are fully incorporated. It should be the consistency of wet sand. Transfer to a 9-inch pie plate and, using your hands, press the crumbs into the bottom and up the sides of the plate. Transfer to the freezer while you make the pudding.
Step 2
Make the pudding: In a medium pot, whisk together the sugar, cornstarch and salt. Whisk in the milk, heavy cream, coconut milk, egg and egg yolk; then add the shredded coconut and whisk again.
Step 3
Transfer the pot to the stove top and cook the pudding over medium-high heat, whisking constantly, until the mixture thickens and begins to bubble, about 15 minutes.
Lower the heat to medium and continue to whisk, while the mixture bubbles, for 1 more minute. Remove from the heat, and whisk in the butter and extracts until combined.
Step 4
Remove the crust from the freezer and pour the pudding into it. Using an offset spatula, smooth out the pudding’s surface; then cover with plastic wrap and refrigerate for 4 to 6 hours, until the pudding is cold to the touch and quite firm.
Step 5
Make the whipped cream: In the bowl of a stand mixer fitted with a whisk attachment, or using a handheld mixer and a large bowl, combine the cream, confectioners’ sugar and extract and whisk on medium to medium-high speed until the cream forms medium peaks.
Step 6
Remove the plastic wrap from the pudding and cover with the whipped cream, using an offset spatula or the back of a spoon to make decorative swirls. Sprinkle the toasted coconut on top, then slice with a serrated knife and serve.
NOTE: It is best to use a food processor to turn the cookies into fine crumbs. If using a rolling pin and a zip-top bag to crush the cookies, you may need to use your hands to break up larger chunks.
Recipe from food writer Jessie Sheehan.
Tested by Ann Maloney; email questions to voraciously@washpost.com.
Scale and get a printer-friendly version of the recipe here.
Did you make this recipe? Take a photo and tag us on Instagram with #eatvoraciously.
Browse our Recipe Finder for more than 9,000 Post-tested recipes at washingtonpost.com/recipes.
More from Voraciously:
Dress a chicken tartine with summer produce and ripe cheese, and dinner is done
Half ceviche, half shrimp cocktail, this cool, bright dish is thoroughly refreshing
This summer, do as the Sicilians do and make a tray of refreshing almond granita
Nutrition
Calories: 565; Total Fat: 41 g; Saturated Fat: 27 g; Cholesterol: 128 mg; Sodium: 228 mg; Carbohydrates: 46 g; Dietary Fiber: 2 g; Sugars: 31 g; Protein: 5 g.